The interior work is picking up. We have decided to trim with poplar so my main task now is to find a good stain color that will work with the wood. Would have loved to trim it in Mahogany but the price was a bit much...
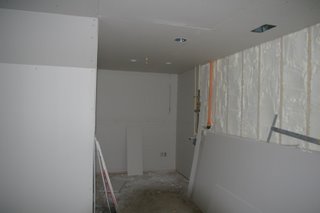
The kitchen walls...
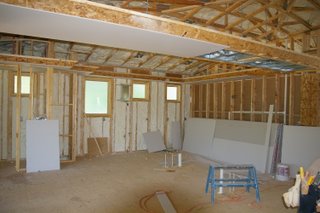
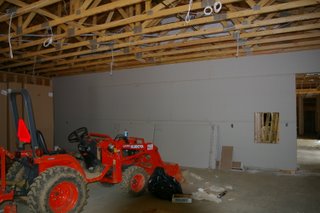
The family room downstairs. Double doors are to go into media room.
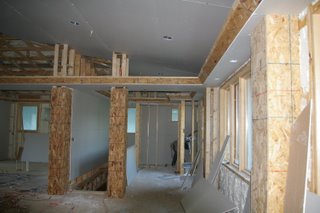
Entry with the stairs column and powder room at the end.
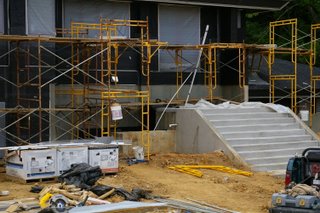
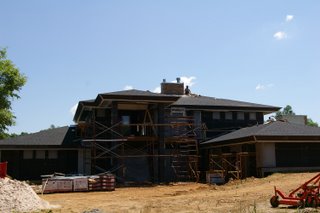
Back of the house. The base coat for the stucco is started on the back wall.
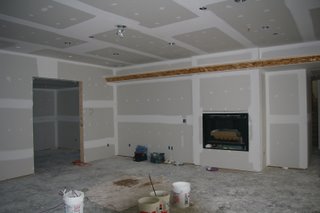
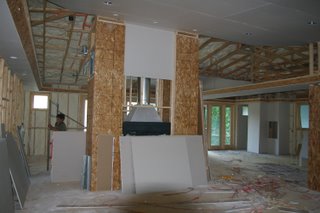
The main living room with the fireplace.. Still debating what to do about the hearth...
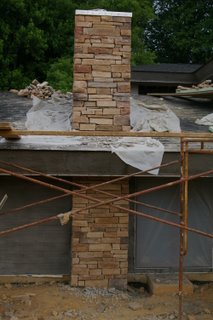
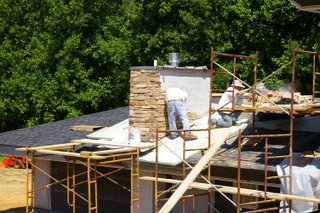
Stone work on the Master Bedroom Chimney.
This is a blog about our experience building a home in the Praire style in the suburbs of Washington DC. The blog is more a sequence of photos with some words to describe the process. At times it also is a place to give our frustration and joy in the whole process.
Friday, June 23, 2006
Thursday, June 15, 2006
Interior Finish and Exterior Finish
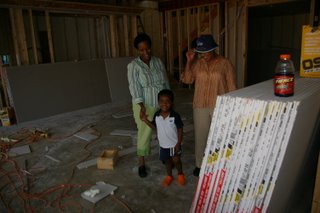
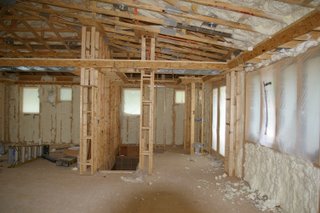
Finally we are making good progress.... The insulation was completed finally and we have all the inspections for the sprinkler system.... So drywall was delivered yesterday albeit they tore every door cover. And installation is now in full swing... The exterior installation is also started with the scratch coat for the stucco on the walls and also the stone...
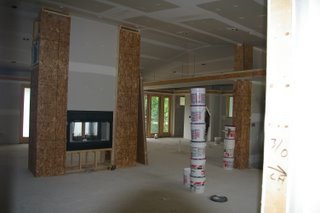
The great room fire place sheathed where the stone columns would go.
The Entry area with the powder room in the back and the columns framing the stair case.
The inspector and his helpers...
Drywall of the kitchen... The foam insulation has been shaved off...
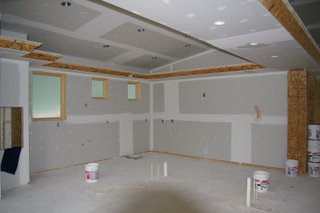
The media room.
The back of the house... Notice the main fireplace chimney stone covered.
The second chimney for the master bedroom.
Friday, June 09, 2006
More insulation pics....
The improvements are still on going.... slow as it may be...
The staircase at the front of the house...
The office, shared bathroom have also been sprayed.
The back wall in the garage has been sheetrocked so that the foam can be sprayed on it. The little opening next to the door is for the dumbwaiter.
This is the front entrance , powder room in the back. Still lots of clean up and shaving to be done
Thursday, June 08, 2006
Foam insulation getting installed.
The insulation is currently being installed.
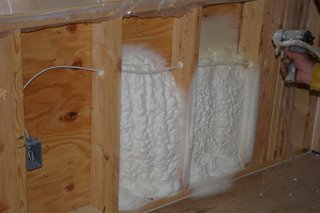
Here is a sample wall being sprayed. It is really interesting how it does indeed fill all the nooks and cracks. We have sealed all the seams with caulk so we should be pretty ready for a blower test once the insulation is done.
All the high spots have been sprayed and look good. Since the foam is non combustible it can be applied directly to the metal flues. All the holes should be sealed up.
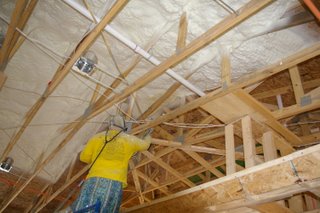
Filling out the spaces between trusses is a simpler task. Non the less it is time consuming.
The ends of the trusses have cardboard baffles to restrain the foam from going into the eaves. The process is quite painstaking since it requires being close enough to aim the nozzle in the right place but not too close since the pressurize liquid needs some distance to be applied right.
Wednesday, June 07, 2006
The framing inspection is complete
and our sprinklers and all the rough in has been approved. Now we need to rush the rest of the process if we are going to make our July deadline...
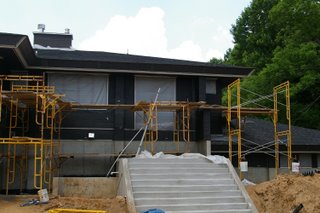
These are the front entrance stairs. There will be a waterfall coming out of the left wall into a pond. The pipe sticking out is the return piping already inplace for recirculating the water...
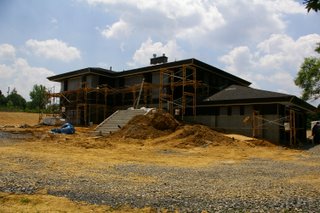
The house is almost completely wrapped in preparation of the stone/stucco finish.
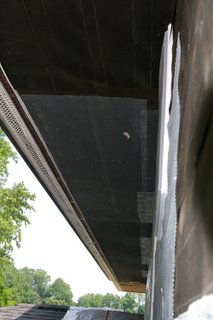
Here is a close up of one of the soffits. The white bead is around every window and door. The soffit vent is not really for the roof, as the insulation make contact to the roof sheathing, but it does help ventilate the extensive roof area which extends out. We may need to have a power vent to help air circulation.
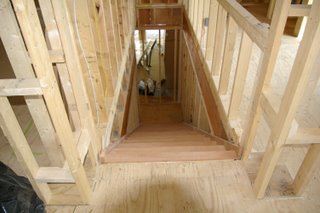
The inspector has been pleased with the installation of the stair cases. Made from brazillian cherry they will match the flooring...
You can see some of the cardboard baffles being placed to provide backing for the insulation. There is a very high expectation from the foam in terms of both performance, air seal and noise reduction. The cost was almost 3x of fiberglass so we will be looking for the return soon.
Hope to get some pictures of the insulation tomorrow which will be a dramatic change..
These are the front entrance stairs. There will be a waterfall coming out of the left wall into a pond. The pipe sticking out is the return piping already inplace for recirculating the water...
The house is almost completely wrapped in preparation of the stone/stucco finish.
Here is a close up of one of the soffits. The white bead is around every window and door. The soffit vent is not really for the roof, as the insulation make contact to the roof sheathing, but it does help ventilate the extensive roof area which extends out. We may need to have a power vent to help air circulation.
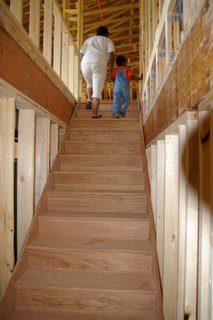
The inspector has been pleased with the installation of the stair cases. Made from brazillian cherry they will match the flooring...
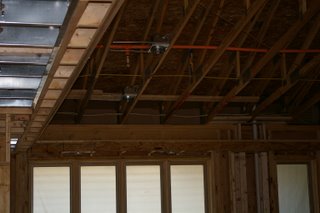
You can see some of the cardboard baffles being placed to provide backing for the insulation. There is a very high expectation from the foam in terms of both performance, air seal and noise reduction. The cost was almost 3x of fiberglass so we will be looking for the return soon.
Hope to get some pictures of the insulation tomorrow which will be a dramatic change..
Saturday, June 03, 2006
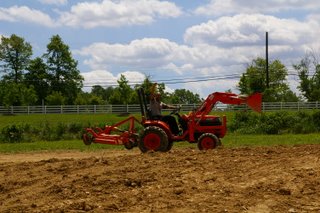
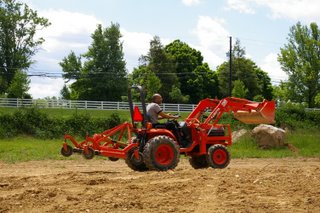
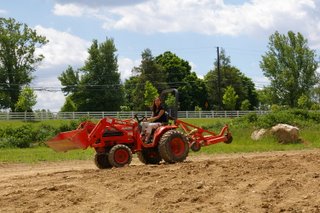
We have conversion of Professors into Farmers
Friday, June 02, 2006
We finally have some stairs outside and inside
but we are still waiting for inspections to complete framing and roughin.
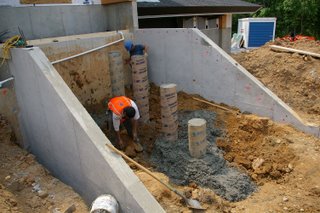
The outside stair have 4 piers because of the 12 foot span. the support piers are poured on the virgin dirt and alsi supported all the way around.
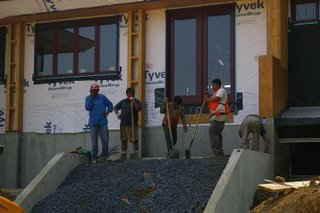
The last of the back fill before the steps are formed and the concrete is poured.
These are the lastest interior stairs. We decided to use Brazillian Cherry for the flooring and thus also had the stairs made from B C.
Subscribe to:
Posts (Atom)